
Last updated November 21, 2026
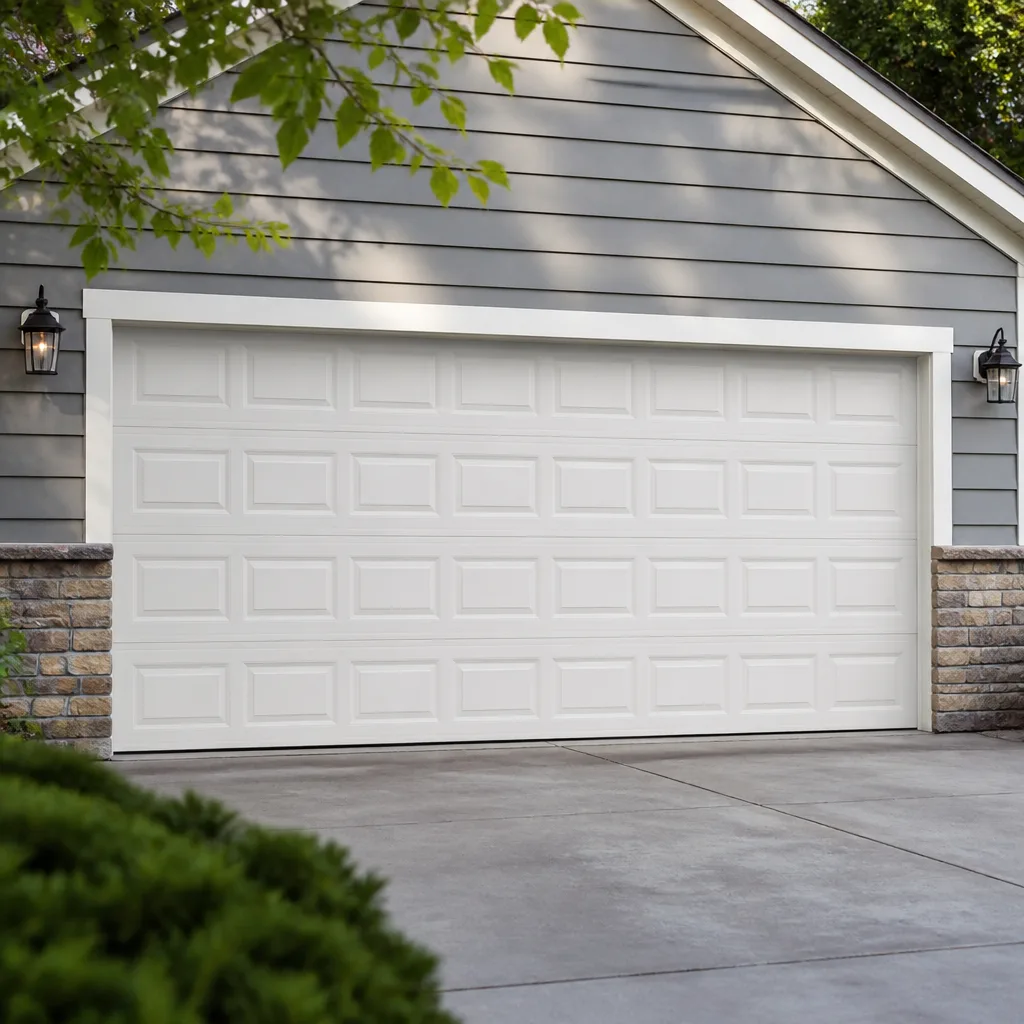 Raised-panel steel
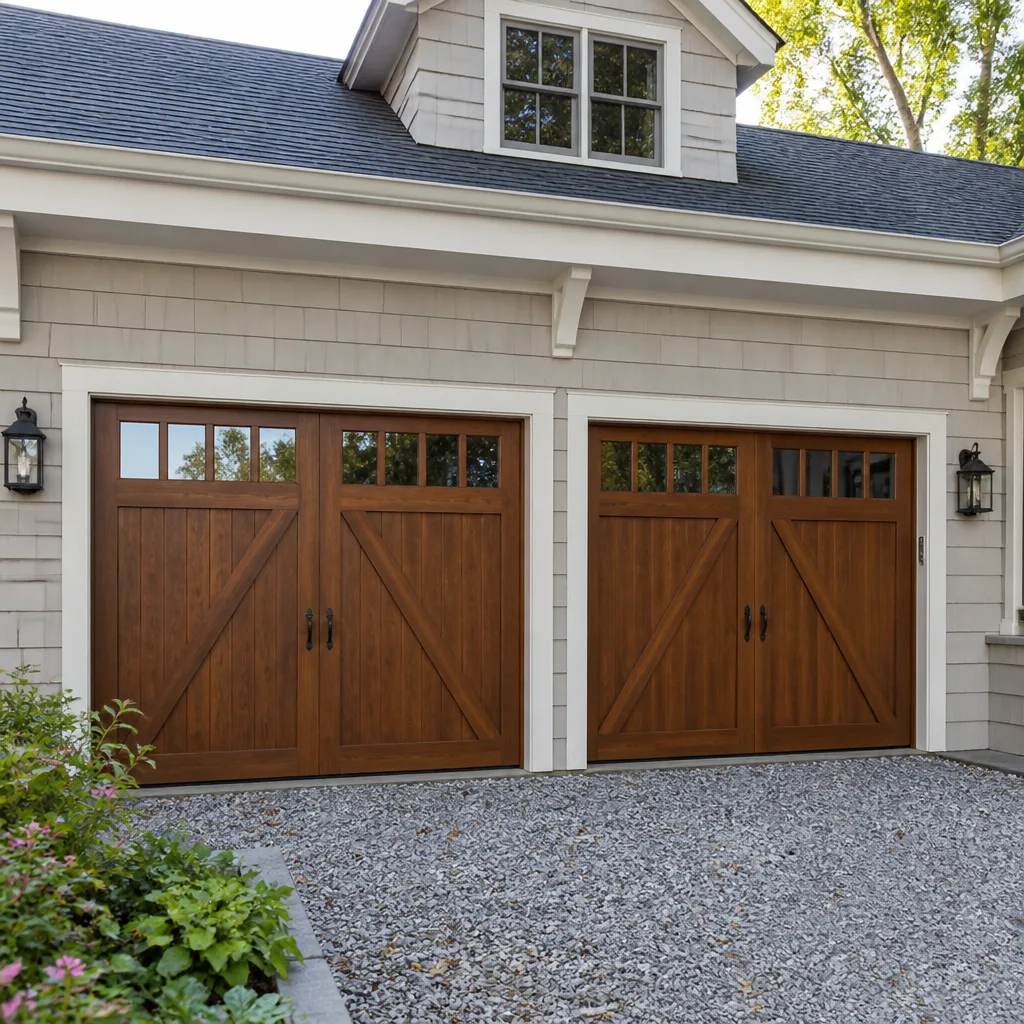 Carriage house
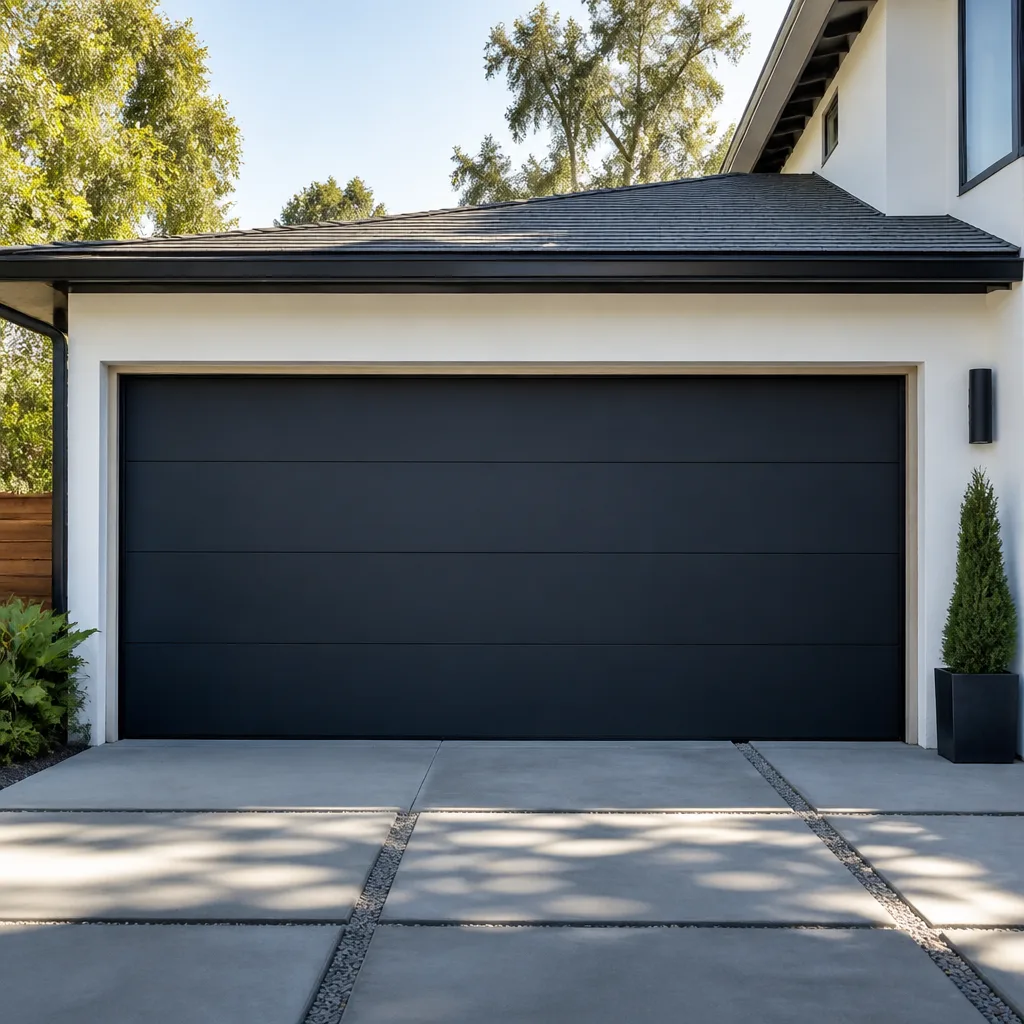 Modern flush
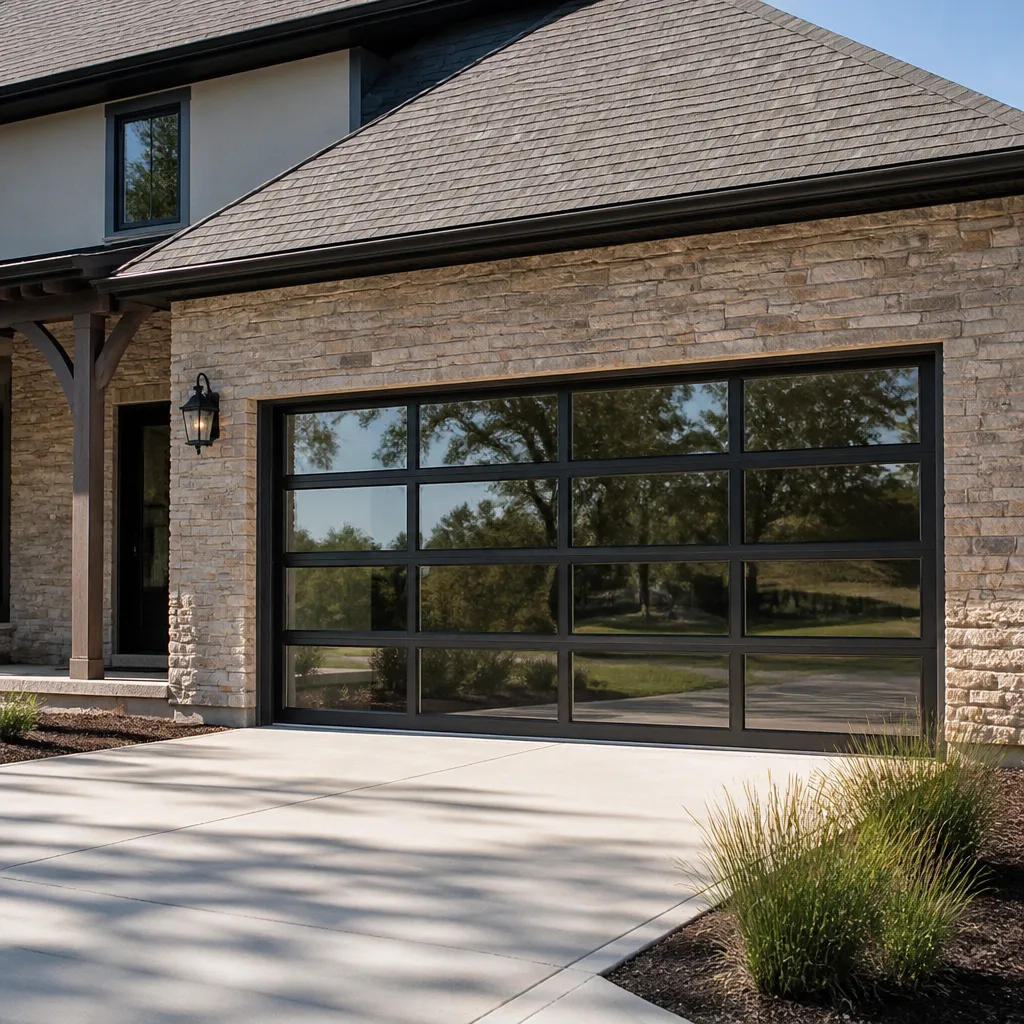 Full-view glass
 LiftMaster openers
 Chamberlain openers
Full 25-point door and opener safety check with every visit - springs, cables, rollers, tracks, and your LiftMaster or Chamberlain opener included
You get a price before we start. It does not change when the pro arrives.
Get your free estimateGarage Door Repair Maintenance Checklist for Noblesville Homeowners
Most garage door checklists tell you to “inspect your springs” and call it a day. That’s not a checklist, it’s a shrug. A checklist worth following tells you what a worn torsion spring actually looks like on a standard double-car door, what it sounds like under load, and which small fixes you can handle in thirty minutes versus which ones put your hands near stored energy that can break bone. Noblesville homes deal with real seasonal swings, from humid July afternoons to hard January freezes, and those swings stress door hardware in predictable ways. This guide gives you a task-by-task checklist with pass/fail criteria, realistic time estimates, and a clear line between what’s safe for you and what belongs with a trained technician.
Quick Answer
A garage door maintenance checklist for Noblesville homeowners should cover seven core checks: balance and travel, spring condition, roller and hinge wear, track alignment, weather seal integrity, opener force and safety reversal, and lubrication of the right parts with the right product. Most of these you can inspect safely in about 30 minutes without tools beyond a level and a flashlight. Spring adjustment, cable work, and any repair that requires releasing tension are professional tasks. Run a full inspection twice a year, with a heavier pre-winter pass in October and a lighter post-winter pass in March.
Styles & brands we work with
- Raised-panel steel
- Carriage house
- Modern flush
- Full-view glass
- LiftMaster openers
- Chamberlain openers
Table of Contents
- Why Noblesville’s Seasons Change Your Maintenance Calendar
- The Full Task-by-Task Checklist (With Pass/Fail Criteria)
- What You Can Safely Do vs. What Requires a Technician
- Reading Your Springs: The Check That Prevents the Worst Failures
- Lubrication Done Right (and the Two Products That Cause Damage)
- Opener Checks: Force, Reversal, and Chain Tension
- Weather Seals, Tracks, and the Indiana Freeze-Thaw Cycle
- A Realistic 30-Minute Inspection vs. a Full Service Day
Why Noblesville’s Seasons Change Your Maintenance Calendar
A garage door in Noblesville works harder across a year than one in a mild climate. Summer humidity swells wood door panels and makes metal tracks expand slightly. Fall brings temperature swings that cycle the door’s steel components through dozens of expansion and contraction events. Winter freezes the bottom seal to the concrete, and the opener pulls against that stuck seal every single morning until something gives. Spring thaw loosens the ground, and garage slabs settle a fraction, which is enough to throw a track out of plumb.
That cycle is why a single spring check in May doesn’t carry you through the year. The two inspections that matter most in Noblesville happen at different times and cover different things:
- Pre-winter inspection (October): This one is about surviving the cold. Check the bottom seal for cracks and hardening, confirm the door is balanced so the opener isn’t straining, test the safety reversal, look at spring wind counts, and lubricate everything that moves before the cold makes grease stiff.
- Post-winter inspection (March): This one is about what winter did. Look for popped rollers, bent track from frost heave, a seal that’s torn or pulled loose, and springs that have lost tension after months of fighting frozen concrete.
A light mid-summer walkthrough, mostly listening and looking, catches anything the spring inspection missed. Noblesville neighborhoods with older housing stock, including areas around the downtown square and the established streets off State Road 32, see more wood-door and original-hardware wear than newer builds. That’s not a rule, just a pattern worth knowing when you’re deciding how closely to look at hinges and rollers.
The Full Task-by-Task Checklist (With Pass/Fail Criteria)
Here’s the checklist we’d hand a homeowner who wants real answers. Each item has a pass condition, a fail condition, an approximate time, and a note on whether it’s safe to do yourself. Work through it top to bottom with the door closed, then repeat the balance and travel checks with the door open.
- Visual spring inspection (2 minutes, safe). Pass: springs look straight, painted, and unbroken. Fail: any visible gap in the coil, a spring that looks noticeably stretched compared to its neighbor, or rust blooming along the wire. On a standard double-car door with a torsion system, a worn spring often has a slight sag in the middle of its coil and a duller sound when tapped.
- Balance test (3 minutes, safe). Disconnect the opener using the release cord, lift the door halfway by hand, and let go. Pass: the door stays put. Fail: it drifts down or shoots up, meaning the springs and door weight are out of balance.
- Roller inspection (3 minutes, safe). Pass: rollers turn freely and the nylon or steel wheels look round. Fail: flat spots, cracked nylon, or a roller that wobbles in its bracket.
- Hinge and bracket check (3 minutes, safe). Pass: hinges are tight, no visible cracks, no rust scaling. Fail: loose screws that won’t tighten (a sign of stripped wood or metal), cracks radiating from a hinge hole, or a bent bracket.
- Track alignment (4 minutes, safe). Pass: tracks are parallel, plumb, and clear of dents. Fail: a visible gap between track and roller, a bend you can see, or track that has pulled away from the wall.
- Weather seal check (3 minutes, safe). Pass: bottom seal touches the floor evenly along its length and flexes when pressed. Fail: gaps at either corner, a seal that’s cracked, hardened, or torn, or daylight visible under a closed door.
- Safety reversal test (2 minutes, safe). Place a piece of wood or a brick on the floor in the door’s path, close the door, and confirm it reverses on contact. Also test the photo-eye sensors by blocking the beam. Pass: the door reverses both ways. Fail: it doesn’t, which means the opener needs adjustment before anyone uses the door.
- Opener force and sound (3 minutes, safe). Pass: the door opens smoothly with a steady hum and no grinding. Fail: jerking, popping, or a motor that strains at the start or end of travel.
- Lubrication (8 minutes, safe). Pass: hinges, rollers, and the torsion bar bearing plate get a light coat of proper lubricant. Fail: dry, squeaking metal or, worse, tracks coated in sticky spray.
Total time for the full pass: about 30 minutes. That’s the honest number. Anything that fails the balance test or turns up a cracked spring stops the checklist right there, and the door stays closed until a technician sees it. For anything that isn’t a simple swap, you can schedule garage door repair and get a written estimate before work starts.
What You Can Safely Do vs. What Requires a Technician
The dividing line in garage door maintenance isn’t about difficulty, it’s about stored energy. Everything below the spring line and outside the cable path is yours to handle. Everything that touches spring tension or the lift cables belongs with a trained technician, and that’s not caution for its own sake.
A torsion spring on a typical double-car door holds enough stored force to launch a person across a garage if it releases unexpectedly. Extension springs are similarly dangerous and are usually the ones that snap without warning. Cables sit under that same tension and can whip when they let go. This is why spring work is a standard service for us, performed with the right winding bars and the right technique, and why we’d tell any Noblesville homeowner to leave it alone.
| Task | Safe for Homeowner | Why |
|---|---|---|
| Visual spring inspection | Yes | Looking only, no contact |
| Balance test with opener released | Yes | Door weight only, springs untouched |
| Lubricating hinges and rollers | Yes | No tension involved |
| Tightening hinge screws | Yes | Low-torque fasteners |
| Replacing weather seal | Yes, for the bottom seal | Slides into a channel, no tension |
| Safety reversal and sensor test | Yes | Controls check only |
| Adjusting spring tension | No | High-tension wound spring |
| Replacing torsion or extension springs | No | Requires winding bars and controlled release |
| Working on lift cables | No | Cables carry the full door load |
| Straightening a bent track | No | Can shift door weight onto one side |
One practical note on timing. A failed spring inspection shouldn’t wait for a convenient moment, because a door with a broken spring is heavy, unbalanced, and hard on the opener. We treat that as emergency work, and our technicians have up to 12 years of experience reading spring condition on the door in front of them rather than guessing.
Reading Your Springs: The Check That Prevents the Worst Failures
The spring check is where a good checklist separates itself from a lazy one. “Inspect for wear” tells you nothing. Here’s what to actually look for on each type of spring, and what each finding means.
Torsion springs (the bar-mounted kind above the door)
- A visible gap in the coil. The spring has broken. The door will feel enormously heavy and the opener will likely stall. This needs a professional the same day if the car is boxed in.
- A slight sag in the middle of the coil. Often the first sign of fatigue, before a break. The spring is weakening. Note it and have it checked, because a tired spring accelerates wear on the opener and the cables.
- Rust along the wire. Corrosion thins the steel. Springs in garages that see damp air and road splash tend to rust first at the ends. Surface discoloration is worth watching; flaking rust means the spring is on borrowed time.
- A duller tone when tapped lightly with a screwdriver handle. A healthy spring rings. A dead spring thuds. Don’t strike it hard, just listen.
Extension springs (the ones running alongside the tracks)
- Stretched length. Compare the two springs. If one is noticeably longer than the other, it’s fatigued.
- Missing safety cables. Extension springs should have a steel cable running through the center to contain them if they break. If your door has extension springs and no cables, that’s a safety gap worth fixing.
- Open gaps in the coils. A break in extension springs is often visible as a clear separation.
A matched pair of springs should generally be replaced together, because two springs of the same age fail close together and an unbalanced door is hard on the whole system. We quote spring pricing per spring for that reason, and the written estimate you get before work starts reflects exactly what’s being done. In our experience, the homeowners who catch a sagging spring early avoid the added labor that comes with a break, when a door is stuck and the car is trapped. That’s the dollar difference that makes the spring check worth doing on a schedule instead of when something snaps.
What you should not do, under any circumstances, is try to adjust the winding on either spring type. The stored tension in a wound torsion spring is not something to test with hand tools. If your visual inspection finds a problem, the next step is a call, not a YouTube video.
For a spring that’s already failed, garage door opener repair often comes up too, because a strained opener is the first casualty of a broken spring. We work on the opener brands you actually have, including LiftMaster, Chamberlain, Genie, and Craftsman, so the diagnosis covers the whole system, not just the spring.
Lubrication Done Right (and the Two Products That Cause Damage)
Lubrication is the task most homeowners get wrong, and the mistakes are the ones that create new problems. The goal is a thin film on metal parts that move against each other, not a wet coating on everything.
- What to lubricate: hinges at the pivot points, roller stems (not the wheels themselves), the torsion bar bearing plates at each end, and the lock if your door has one.
- What to use: a white lithium grease or a silicone-based lubricant made for garage doors. A few drops per hinge is plenty.
- What to leave alone: the tracks. Tracks should be clean and dry. Lubricant in the tracks attracts dust, grit, and debris, and that mixture turns into a paste that wears rollers faster.
- What never to use: WD-40 as a lubricant, and any spray that leaves a sticky residue. WD-40 is a penetrant and a light solvent, not a long-term lubricant. It’ll quiet a squeak for a week and then dry out, and the residue it leaves collects grit.
- How often: twice a year, aligned with your two seasonal inspections. In Noblesville’s climate, a fall pass before the cold sets in and a spring pass after the thaw covers it.
Time estimate: 8 minutes for a single-car door, 10 to 12 for a double. Wipe down the tracks with a dry cloth first if they’ve picked up grit. If your door has a chain-drive opener, the chain itself gets a light application of the same white lithium grease, not a heavy coat.
One more thing worth knowing: squeaking that comes back within a week of lubricating usually isn’t a lubrication problem. It’s a worn roller, a loose hinge, or a bearing that’s failing. Repeating the same fix without diagnosing the cause just delays the real repair. If a squeak persists through two cycles of proper lubrication, have a technician look at the roller and bearing condition, because the sound is information.
Opener Checks: Force, Reversal, and Chain Tension
The opener is the part of the system homeowners interact with daily and understand least. These checks are all safe to do yourself and take about five minutes combined. They’re also the checks that prevent the calls we get most, like a door that closes on a person or a motor that strains and eventually quits.
The safety reversal test
Two separate mechanisms protect anyone under a closing door. The photo-eye sensors at the bottom corners of the track break a beam, and the opener’s force sensing stops the door on contact with an obstruction. Test both.
- Open the door fully, then place a piece of lumber flat on the floor in the door’s path.
- Press the close button and confirm the door reverses when it contacts the wood.
- With the door open, wave an object across the photo-eye beam. The door should refuse to close, or reverse if it’s already closing.
- If either test fails, don’t use the door until it’s adjusted. This is a real safety issue, not a nuisance.
Force and chain checks
Listen to the door as it opens and closes. A healthy opener runs at a steady speed with a consistent motor note. Straining, jerking, or a door that stops halfway usually means a balance problem from the earlier checklist, not a motor problem. Fix the balance first, because a straining motor is often trying to overcome a door that’s fighting it.
On a chain-drive unit, the chain should have a small amount of slack, roughly half an inch of play at the midpoint. Too tight puts load on the motor and the gear. Too loose makes a rattling noise and risks jumping the sprocket. Belt-drive openers don’t have this adjustment. If your opener is a LiftMaster or Chamberlain with a battery backup, check that the battery indicator is green, because a backup that’s failed without a warning leaves you locked in when the power goes out.
When the opener itself fails, brand familiarity saves time. We’re factory-familiar with eight of the most widely installed door and opener brands, including Craftman and Raynor, which means we diagnose the unit you have rather than a generic stand-in. If repairs aren’t economical, that conversation moves toward garage door installation, and we’ll tell you plainly when replacement makes more sense than repair.
Weather Seals, Tracks, and the Indiana Freeze-Thaw Cycle
Weather seals are the cheapest maintenance item on the checklist and the one that saves the most elsewhere. A torn bottom seal lets in water, cold air, and mice, and a hardened seal can freeze to the slab, which loads the opener every morning. In Noblesville’s freeze-thaw pattern, a bottom seal that stays intact through winter also keeps moisture from working into the door’s bottom panel, where metal doors rust and wood doors swell.
What a homeowner can do: Check the bottom seal twice a year, especially in March after the thaw. Press it along its length and look for cracks, tears, or a seal that’s come loose from the retainer. A standard bottom seal slides into a channel and can be replaced with a new length cut to size. Roughly 15 minutes for a single-car door, 20 for a double. Check the side and top seals the same way, though those are less likely to fail.
Tracks after winter: Freeze-thaw cycles move the ground under a garage slab by a fraction of an inch, and that’s enough to nudge a track out of alignment. Look at the gap between the track and each roller as the door moves. Pass: the gap stays consistent. Fail: a gap that opens and closes, or a visible bend. Tracks that have pulled away from the wall anchors need professional attention, because the fix isn’t just tightening the bolt, it’s checking the door’s alignment with the wall and header.
What a homeowner shouldn’t do: Don’t try to bend a track back with a hammer or a pry bar. A track that’s been forced back can bind the rollers or shift the door’s weight onto one side, and that’s a repair that turns into a replacement. Track problems are one of the clearest cases for a technician, and it’s also where Noblesville’s specific climate shows up most often in service calls.
Once the door is running clean, the last structural item on your list is the door’s panels and frame. Look for popped panel seams, bubbling paint, or rot at the bottom rail of a wood door. These are slow problems that only get expensive when water gets behind the finish.
A Realistic 30-Minute Inspection vs. a Full Service Day
You don’t need to block a full day for maintenance. Here’s how the tasks break down by time so you can plan honestly.
| Task Set | Estimated Time | Who Does It |
|---|---|---|
| Visual spring and track check, door closed | 5 minutes | Homeowner |
| Balance test with opener released | 3 minutes | Homeowner |
| Roller, hinge, and bracket inspection | 6 minutes | Homeowner |
| Safety reversal and sensor test | 3 minutes | Homeowner |
| Lubrication of hinges, rollers, bearings | 8 minutes | Homeowner |
| Bottom seal inspection | 3 minutes | Homeowner |
| Full homeowner inspection | About 30 minutes | Homeowner |
| Professional spring adjustment or replacement | 45 to 90 minutes depending on system | Technician |
| Professional tune-up and full service | 60 to 90 minutes | Technician |
| Track realignment and roller replacement | 30 to 60 minutes | Technician |
The 30-minute homeowner pass is the one to actually schedule, twice a year. Put it on the calendar for October and March, because those are the two moments when Noblesville’s weather makes the inspection most useful. Keep a flashlight, a level, and a can of white lithium grease in the garage so the inspection doesn’t start with a search for tools.
Then there’s the deeper service day. That’s a professional tune-up, and it covers adjustment and replacement of spring, roller, hinge, and bearing components that a homeowner can’t safely handle. It’s worth doing when the checklist keeps flagging the same worn parts, or after a door has been out of balance for a while. If you’re unsure whether you need the 30 minutes or the full day, call and describe what the door is doing. The answer is usually obvious from a short conversation, and calling Noblesville Garage Door Repair Pros for that conversation doesn’t commit you to anything.
Common Mistakes to Avoid
- Over-lubricating the tracks. It feels productive and it does the opposite. Grease in a track collects grit that grinds your rollers down. Keep tracks clean and dry, and lubricate only the parts that pivot.
- Using WD-40 on rollers and hinges. WD-40 quiets a squeak for a week and then dries out into a sticky film that attracts dust. It’s not a lubricant, and on rollers it can leave them grinding worse than before.
- Adjusting spring tension to “help” a slow door. This is the single most dangerous mistake on the list. A wound torsion spring carries enough force to injure seriously, and the DIY instructions floating around online skip critical safety steps. Leave it to a technician.
- Force-closing a door over an obstruction. When a door stops halfway, the instinct is to hold the button and push it through. That strains the opener and bends tracks. Investigate the cause instead.
- Ignoring a minor squeak that comes back. A squeak that returns within a week of proper lubrication is a worn part, not a lubrication problem. Repeating the fix hides a repair that gets more expensive the longer it waits.
- Replacing one spring when a pair should be swapped. If one spring fails, its twin usually isn’t far behind. Replacing a single spring leaves the door unbalanced and puts extra load on the new one. Two springs of the same age belong together.
- Skipping the March inspection. The post-winter pass is the one that catches freeze-thaw damage to the seal, track, and rollers. Skipping it means finding that damage in July, when you might not have time to deal with it.
See the difference
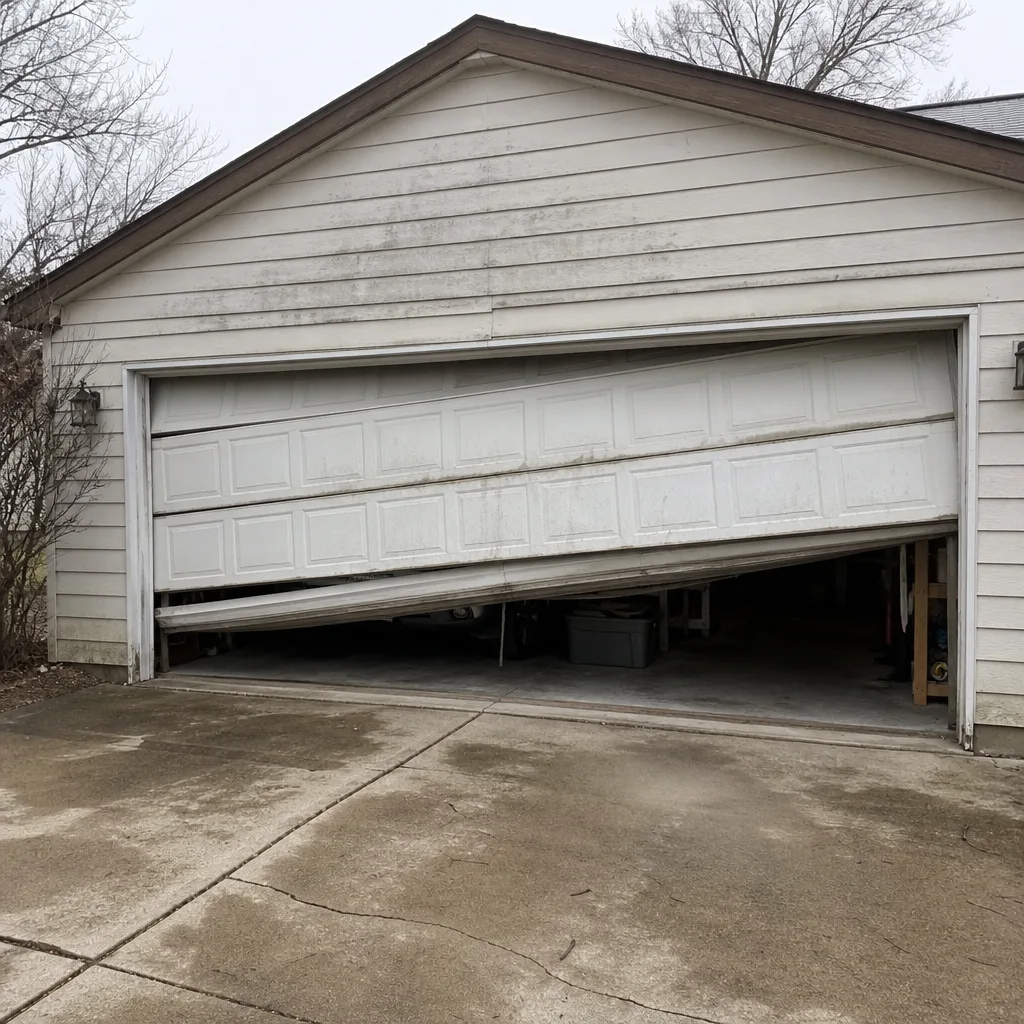 Before
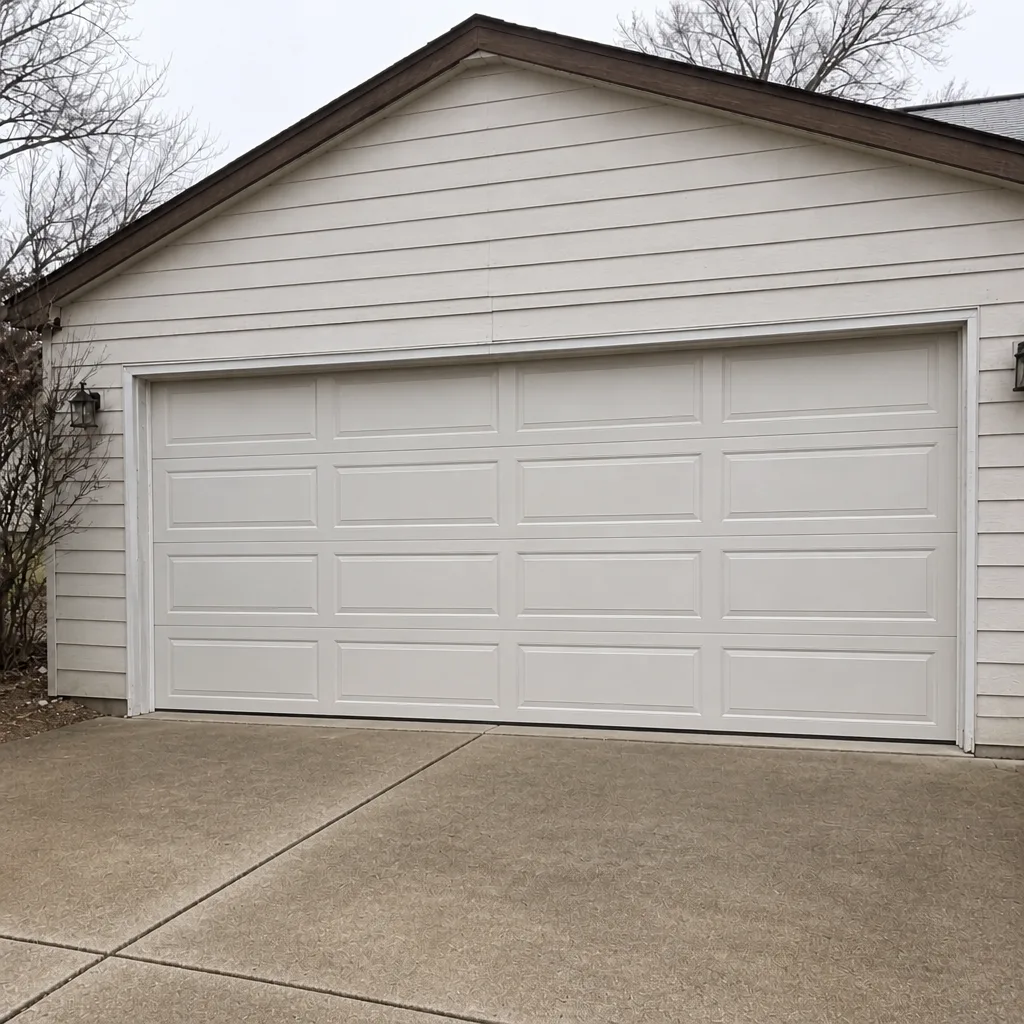 After
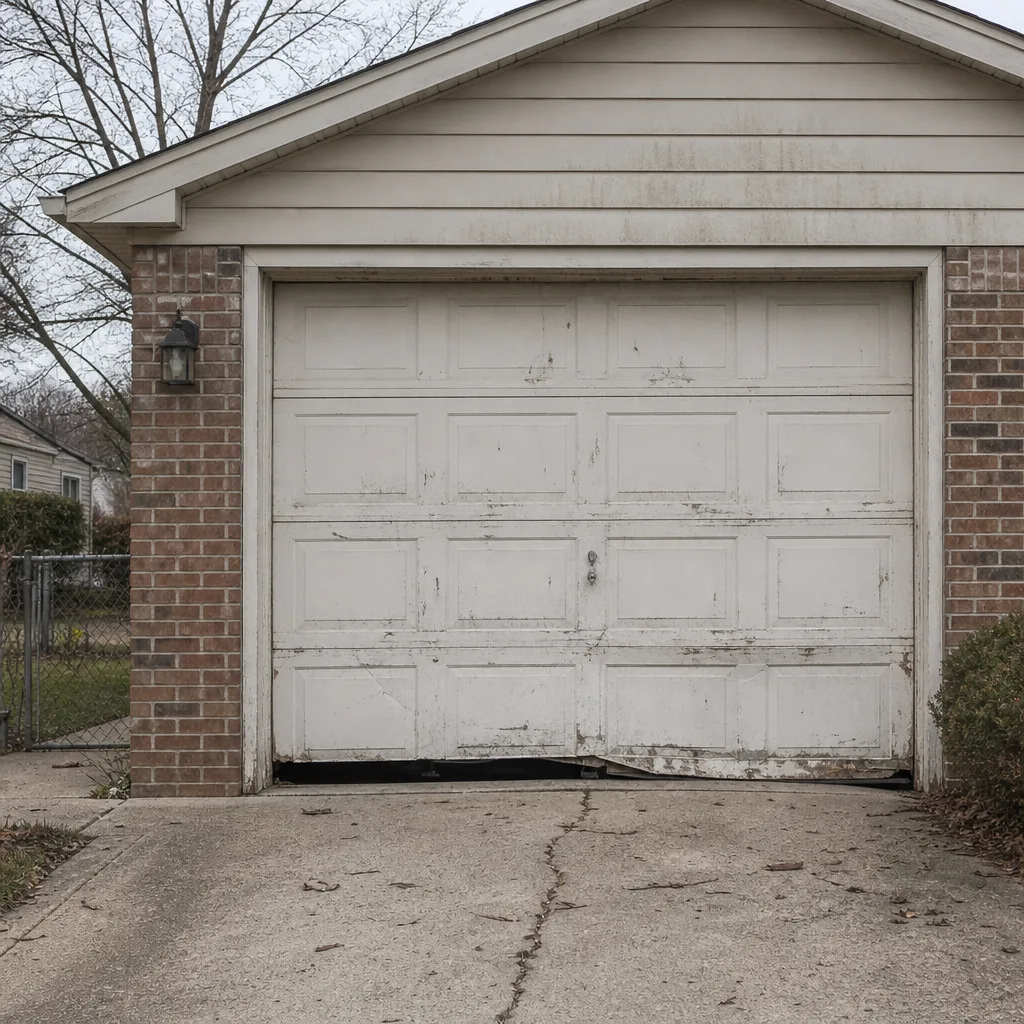 Before
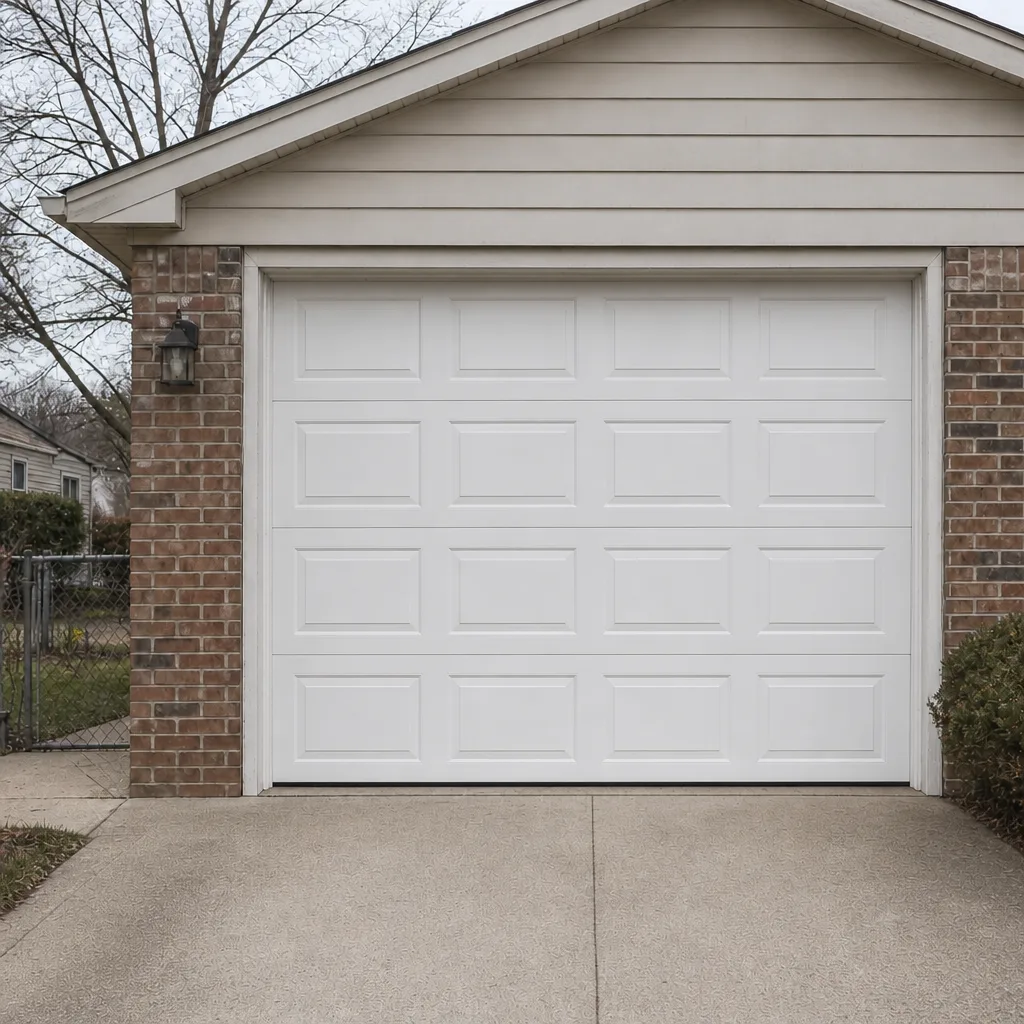 After
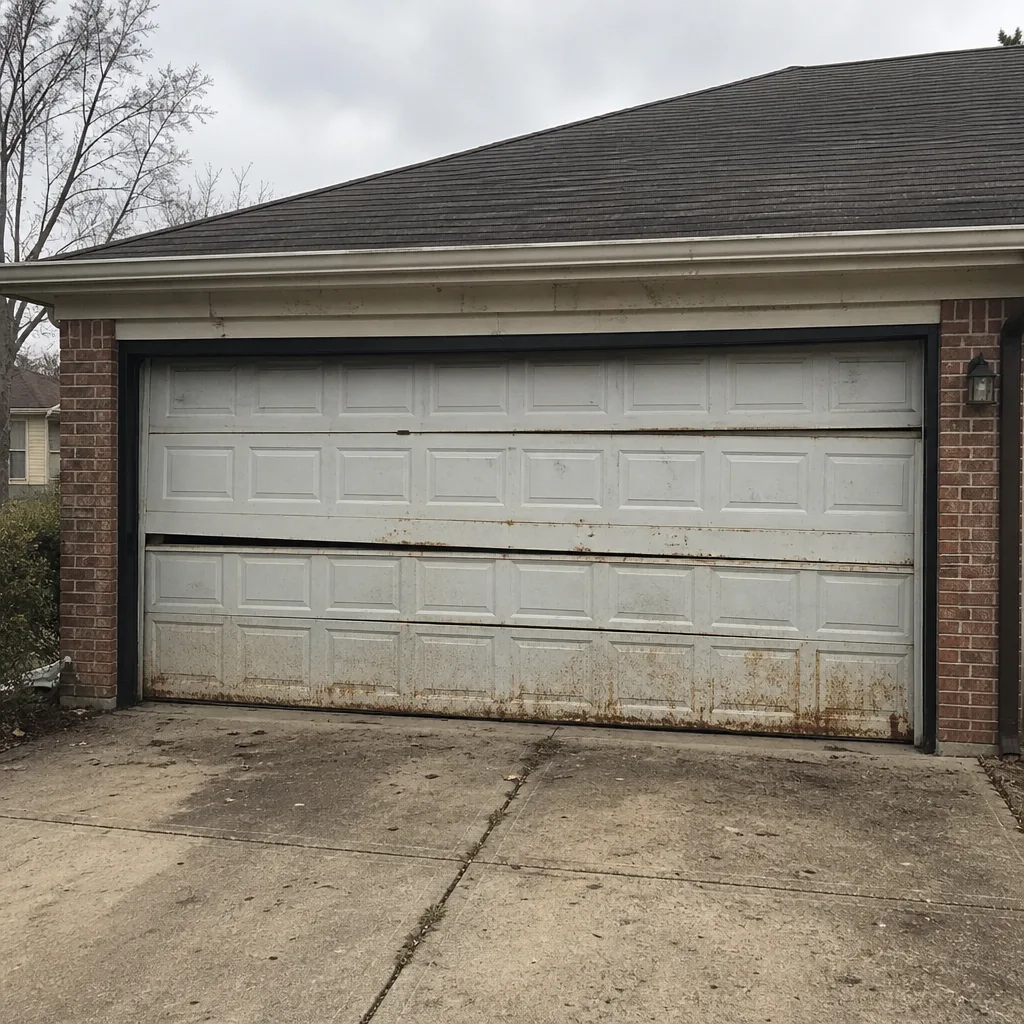 Before
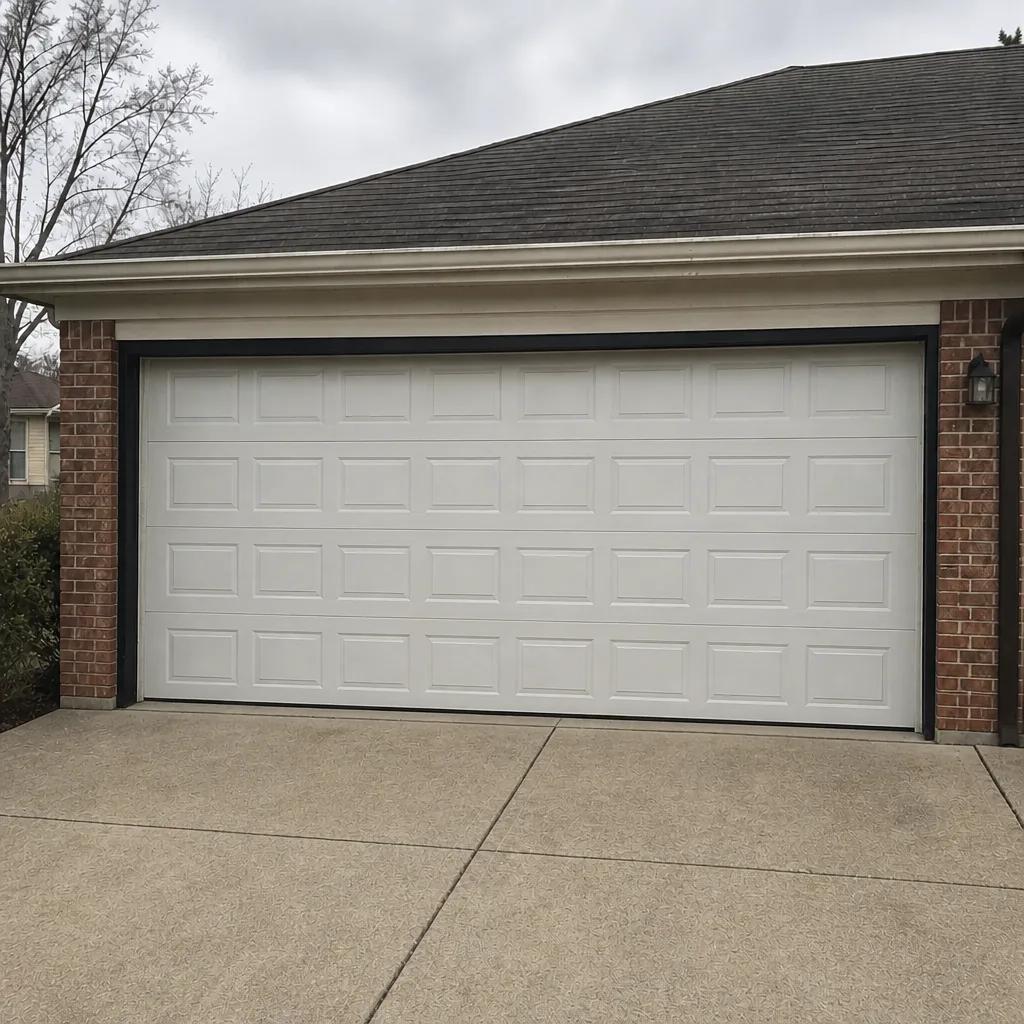 After
When to Call a Professional
Call a technician when the door won’t stay balanced with the opener released, when a spring shows a gap or a sag, when the door is off-track or dragging, when the safety reversal fails, or when the opener strains and jerks despite a balanced door. These are the situations where continuing to operate the door creates more damage than it saves. We perform spring repair as a standard service, not a job we avoid, and our technicians have up to 12 years of experience with the systems found in Noblesville garages. We also handle garage door opener repair when the motor is the problem rather than the door, and emergency work when a broken spring traps a car or leaves a home unsecured. Noblesville Garage Door Repair Pros offers free estimates in Noblesville – call (866) 616-9625. The price is quoted and agreed before any work starts.
Frequently Asked Questions
Twice a year, with an October inspection before winter and a March inspection after the thaw. Those two passes align with Noblesville’s freeze-thaw cycle, which is the main driver of seal and track wear. A light mid-summer look for anything that’s changed is a bonus, not a requirement. Call (866) 616-9625 for an exact quote on a professional tune-up – estimates are free.
No. Torsion and extension springs hold enough stored energy to cause serious injury, and the winding and release steps require controlled tools and technique. A visual spring inspection is safe and worth doing; any repair that involves spring tension is a professional job. If your spring has failed, call (866) 616-9625 and keep the door closed until a technician arrives.
Most single-spring repairs land in a moderate range, and a matched pair costs roughly twice a single spring because both are usually replaced together. The written estimate you get before work begins sets the final price, and we agree it with you before any work starts. A visible sag or a gap in the coil means the door should not be used. Call (866) 616-9625 for an exact quote – estimates are free.
Because the squeak usually isn’t a lubrication problem. If it comes back within a week of proper lubrication, the cause is typically a worn roller, a loose hinge, or a bearing that’s reached the end of its life. Repeating the lubrication hides the real issue and lets the part wear further. Call (866) 616-9625 for an exact quote on the repair.
Yes, in most cases. Opener issues like a door that won’t respond, a failed safety reversal, or a motor that strains are the kind of problem we can often diagnose the same day. We answer 24/7, with fast dispatch from 7am to 7pm, Sunday through Friday, and we’re closed Saturday. A call outside dispatch hours is booked into the next opening. Call (866) 616-9625.
The local professionals we connect you with are licensed and insured as required by their state, and our technicians have up to 12 years of experience with the brands you actually own. We work on LiftMaster, Chamberlain, Genie, Clopay, Amarr, Wayne Dalton, Craftsman, and Raynor systems. Call (866) 616-9625 for an exact quote – estimates are free.
The Bottom Line
A useful maintenance checklist is specific, timed, and honest about the line between safe work and work that belongs with a technician. Run a 30-minute inspection twice a year, in October and March, and match it to Noblesville’s seasonal reality rather than a generic calendar. Read your springs for sag, gaps, and rust, keep tracks clean and dry, test the safety reversal every time, and replace springs in pairs. When a check fails on balance, tension, or track alignment, stop and call. Our technicians have up to 12 years of experience, and we handle spring repair, opener repair, and garage door installation without handing you off to another contractor.
Call Noblesville Garage Door Repair Pros at (866) 616-9625 for a free estimate. We answer 24/7, with fast dispatch from 7am to 7pm, Sunday through Friday. The price is quoted and agreed before any work starts, so you know what you’re paying before anyone picks up a tool.
Written by the team at Noblesville Garage Door Repair Pros.